/
How To: Upload Data File using Bulk Mailing?
How To: Upload Data File using Bulk Mailing?
- Arnold Christian
- Victoria Slade (Unlicensed)
- Vinay Damagatla
Owned by Arnold Christian
Last updated: Mar 02, 2020 by Victoria Slade (Unlicensed)
When user wants to create Shipments in Bulk using CSV/ASCII/pipe deliminator Data File.
Step-by-step guide
- Login to iShipper using your registered credentials.
- Navigate to Dashboard - Shipment Processing
- By clicking on Bulk Mailing Button user will be navigated to Bulk Mailing screen.
- Select +Upload New Data File.
- User will be navigate to Upload new Data File Screen.
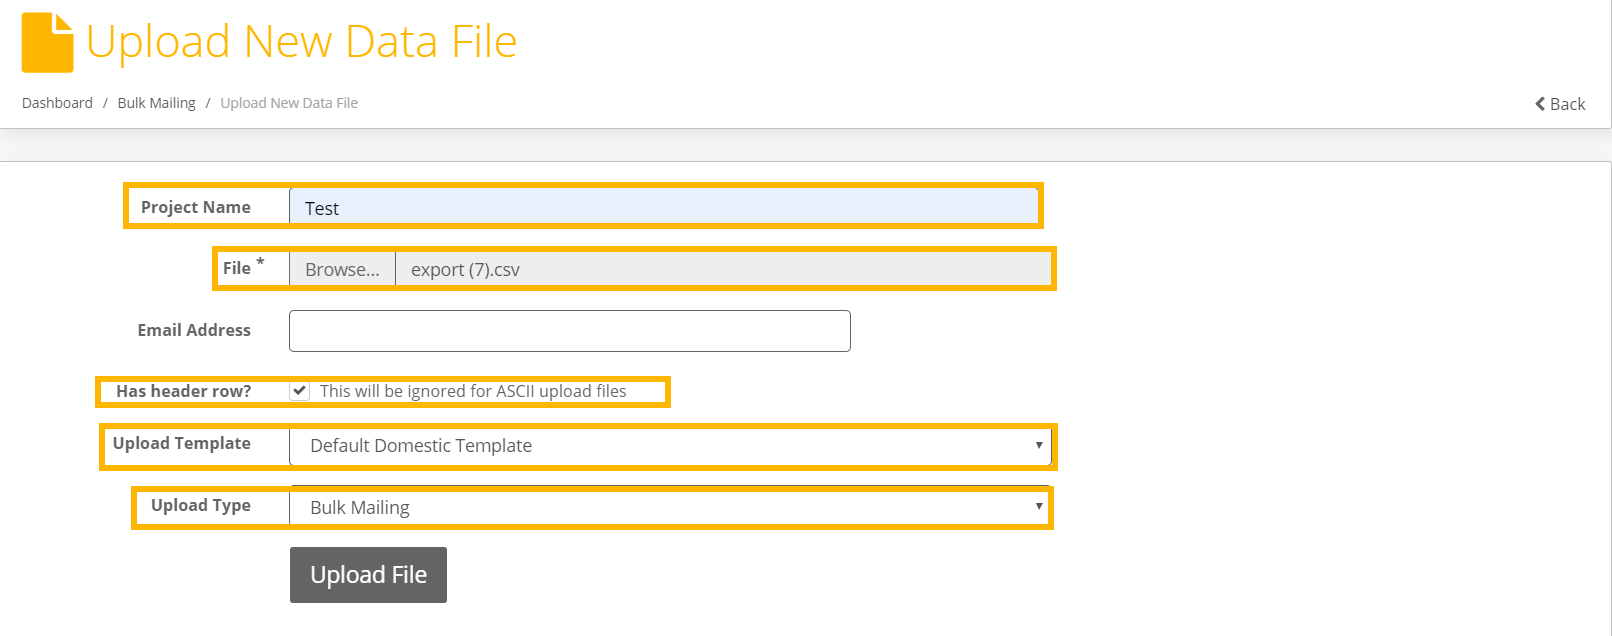
- Enter Project name(i.e.Orders for USA)
- Click on File and select data file to upload.
- Has header row? - select this option if your data file has a header row(This will be ignored for ASCII upload files)
- Upload Template: Select the template which is used to create Data File.
- Upload Type: Select Bulk Mailing if you want to generate labels via Data File - Shipments created using this option will be in processed State)
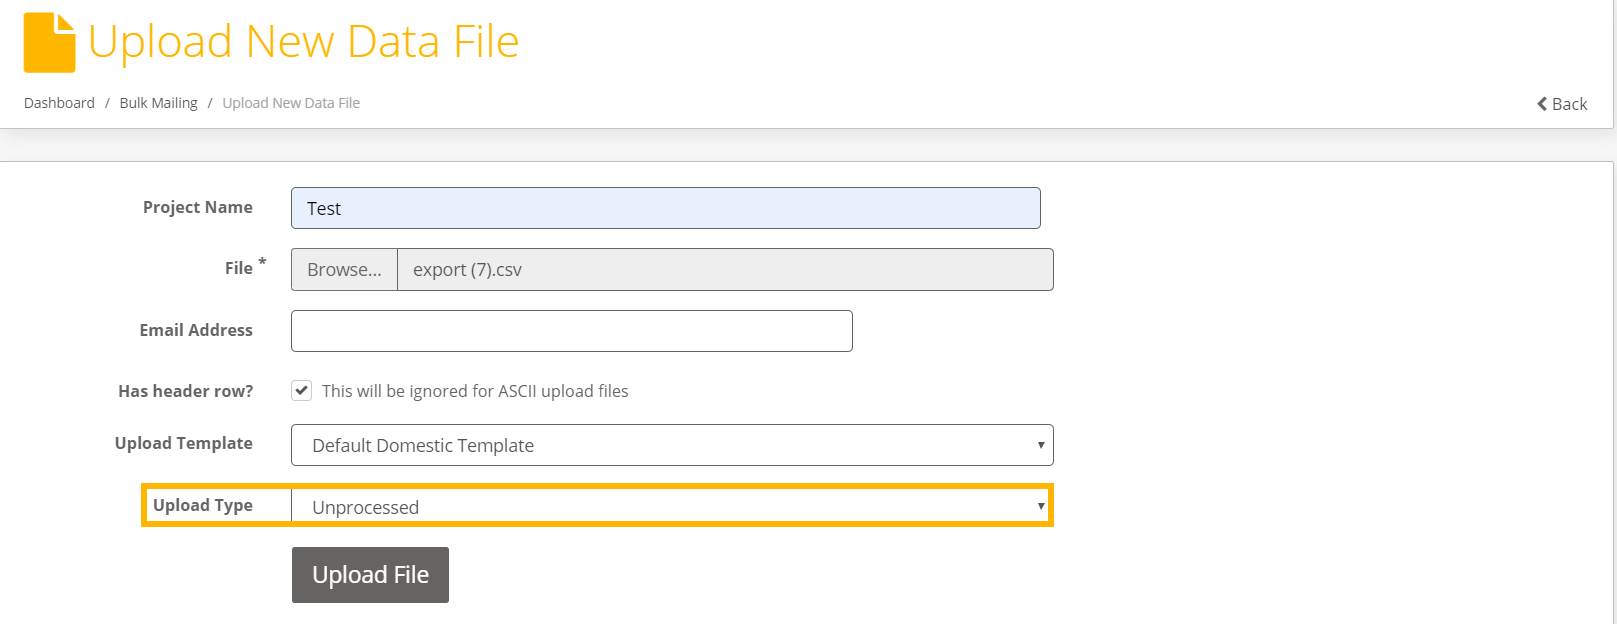
- Upload Type: Select Unprocessed if you want to create shipments but do not want to generate Labels - Shipment create using this option will be in unprocessed state.( To generate label see Scan Unprocessed Shipments)

Related articles
Related content
How To: Use Default Fields in Bulk Mailing
How To: Use Default Fields in Bulk Mailing
More like this
Bulk Upload Shipments v3.0
Bulk Upload Shipments v3.0
More like this
Setting Default Values in Bulk Mailing Templates Quick Reference Guide v2.0
Setting Default Values in Bulk Mailing Templates Quick Reference Guide v2.0
More like this
Automated File Import and Label Printing User Manual v3.0
Automated File Import and Label Printing User Manual v3.0
More like this
Create Shipment using Carrier Packaging v2.0
Create Shipment using Carrier Packaging v2.0
More like this
How To: Create Shipment using Booking Wizard
How To: Create Shipment using Booking Wizard
More like this